Appearance
← Back to Plugins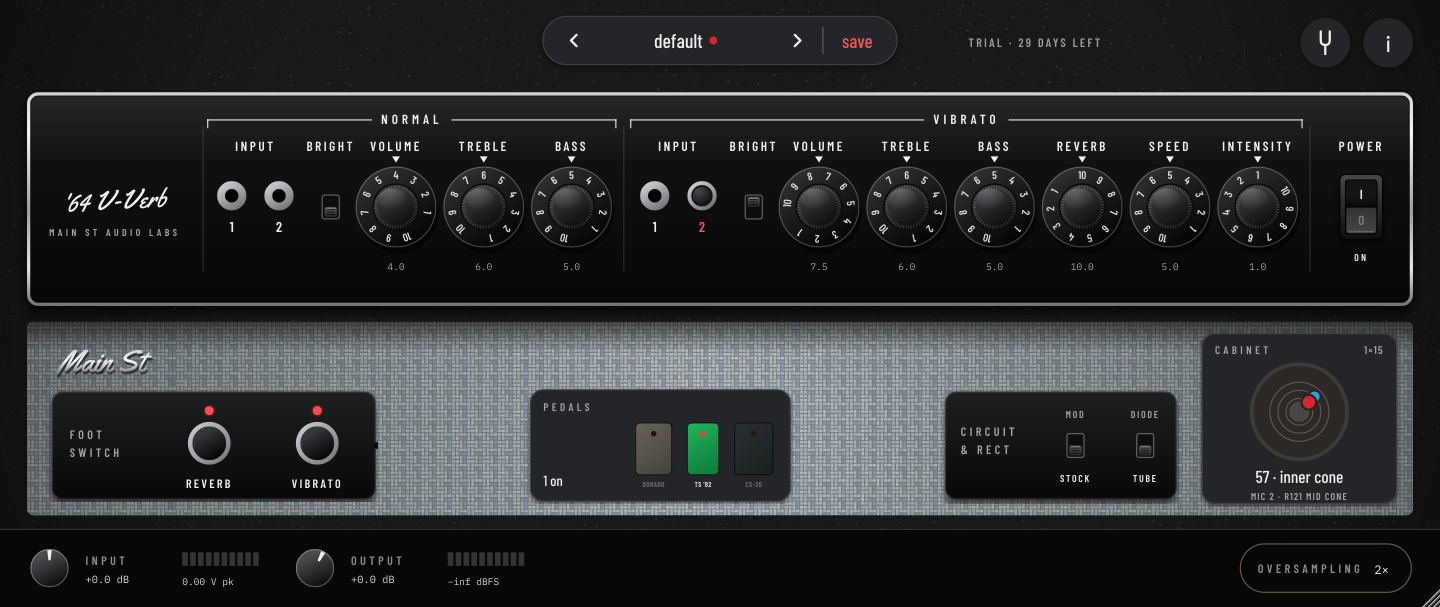
Main St '64 V-Verb
1964 Fender Vibroverb (blackface, 1x15)
Blackface 1964 · 40 W · 1x15 · Reverb · Vibrato · Pedalboard🪟 Win🍎 Mac🐧 Linux
The 1964 blackface Vibroverb, rebuilt tube by tube: two channels, a tube-driven spring reverb, the optical vibrato, a pair of 6L6GC, a GZ34 rectifier and a 15" speaker, all working together as in the real amp. Big, round cleans with a lot of headroom, deep reverb and a throbbing vibrato, and a thick, singing edge when you turn it up. With the '64 Custom switches and a pedalboard in front: a compressor and two overdrives.
Specifications
- The whole circuit, tube by tube, solved in real time, not sampled
- Two channels, Normal and Vibrato, four input jacks and Bright switches
- Treble, Bass and Volume, with the taper of the original pots
- Tube-driven spring reverb: 12AT7 driver, reverb transformer and a long spring tank
- Optical vibrato: a neon lamp and a photocell, with Speed and Intensity
- Push-pull pair of 6L6GC with negative feedback: about 40 watts of clean headroom
- GZ34 tube rectifier: the sag you feel when you dig in
- '64 Custom switches: STOCK / MOD circuit and TUBE / DIODE rectifier
- Pedalboard included: CS-26 compressor, TS '82 and Dorado '94 overdrives
- 15" ceramic speaker that reacts with the power tubes, six mics
- Presets and a built-in tuner
- 30-day full trial, then $19 one-time
New to the Vibroverb? Read this first
The Vibroverb is a 1960s amp, not a modern one: no master volume, no gain channel, and a few things that work differently. Some things that look like a fault aren't:
- Speed and Intensity do nothing? The Vibrato starts off. Press VIBRATO on the footswitch (its LED lights up). Fender called it Vibrato, but it's a tremolo: the volume pulses.
- Reverb and vibrato are on the Vibrato channel only. The plugin starts with the guitar in Vibrato 1. In the Normal jacks there's no reverb and no vibrato, as on the amp.
- Volume is gain. There's no master: turning Volume up means more drive, not just more level. Set the final level with OUTPUT.
- Treble and Bass are not a flat EQ. They're a passive tone stack with the mids fixed: they interact with each other and with Volume. Small moves go a long way.
- Jack 2 is 6 dB quieter, meant for hot pickups. If it sounds weak, use jack 1.
- MOD greys out half the panel. It's the '64 Custom's high-gain mod: the Normal channel and the vibrato are gone, by design. Set CIRCUIT back to STOCK to get them back.
- The pedals start off. Open PEDALS on the grille and step on a switch. A pedal that's off uses no CPU.
- No sound at all? Check the POWER switch on the right of the panel. When it's off the amp is silent (the tuner still works).
Players have been finding their sweet spots on this amp for sixty years. Search for Vibroverb settings; since the whole circuit is here, most of them work the same way. Details in Amplifier Controls.
This manual covers how to use the Main St '64 V-Verb amplifier, how it is designed and its technical specifications.
Welcome
Main St '64 V-Verb simulates the circuit of the 1964 blackface Vibroverb (AB763), the 40-watt combo with a single 15" speaker, component by component. It is not a static capture and not an impulse-response snapshot.
Every stage of the circuit interacts and is solved in real time with Wave Digital Filters (WDF):
- Both channels, Normal and Vibrato, with their 7025 preamp tubes, the cathodes they share, the Bright switches and the Treble / Bass tone stacks with Volume, using the taper of the original pots.
- The reverb circuit. A 12AT7 drives the reverb transformer into a long spring tank, and a recovery stage brings the reverb back into the Vibrato channel.
- The Vibrato, an optical tremolo as in the amp: an oscillator tube flashes a neon lamp onto a photocell that pulses the signal, with Speed and Intensity.
- A 12AT7 long-tail phase inverter with its negative feedback.
- A push-pull pair of 6L6GC driving a modelled output transformer.
- A GZ34 tube rectifier power supply with its choke. Its sag compresses and blooms with your picking.
- A 15" ceramic speaker modelled as a reactive electrical load that interacts with the power tubes.
- Our own impulse responses of that speaker in a 1×15 open-back combo cabinet: six microphones, each at four positions.
- The two rear switches of the '64 Custom reissue: CIRCUIT (stock or the high-gain MOD) and RECTIFIER (tube or diodes).
- A pedalboard in front of the amp, included: the CS-26 compressor and the TS '82 and Dorado '94 overdrives.
As a result, the cleans are big and round with a lot of headroom, the reverb is deep and the vibrato throbs. The amp cleans up when you roll back your guitar's volume, and it gets a thick, singing edge when you turn it up and dig in.
30-day full trial, then $19 one-time. During the trial you get everything: no noise bursts, no time-outs and no missing features. After 30 days the amp goes silent until you activate a license. There is no subscription, and once the license is activated you never need the internet again.
System Requirements
| Windows | Windows 10 or later, 64-bit. Nothing else to install: the plugin has no external library dependencies. |
| macOS | macOS 10.13 High Sierra or later. Universal binary: runs natively on both Intel and Apple Silicon Macs. |
| Linux | x86_64, with glibc 2.35 or later (Ubuntu 22.04 and later, or equivalent distributions). |
| Formats | VST3 on all three systems, plus Audio Unit (AU) on macOS for Logic Pro and GarageBand. A standalone application is also included, so you don't need a DAW at all. |
| CPU | The whole amplifier, including the reverb and the vibrato, is solved sample by sample. At the default oversampling (2×) the amp alone takes about a fifth of one core of a modern desktop CPU; each pedal you turn on adds to it (all three about double it). If you hear dropouts, raise your audio buffer to 256 or 512 samples, or lower the oversampling. |
Installation
There is no installer. Copy the files to the folder for your operating system:
| Operating System | VST3 Format | AU (Audio Unit) Format | Standalone Application |
|---|---|---|---|
| Windows | C:\Program Files\Common Files\VST3\ | — | Any folder of your choice |
| macOS | ~/Library/Audio/Plug-Ins/VST3/ | ~/Library/Audio/Plug-Ins/Components/ | /Applications/ |
| Linux | ~/.vst3/ | — | Any folder of your choice |
Note for macOS users:
The plugin is not signed with a paid Apple developer certificate, so macOS Gatekeeper may show a security warning the first time it loads. The plugin is safe. The includedINSTALL.txthas three lines to copy and paste into Terminal that authorize it in seconds.
Once the files are copied, rescan plugins in your DAW. The plugin appears as Main St '64 V-Verb: VST3 on all systems, and also Audio Unit (AU) on macOS for Logic Pro and GarageBand.
Trial and License
- 30 days, complete. The days left are shown at the top of the window (TRIAL · 23 DAYS LEFT). The label turns red during the last five days.
- Buy whenever you want. A license is $19, one-time, from the Buy license button on this page. You can activate it at any moment during the trial: click the TRIAL label at the top (or the
ibutton → LICENSE → OPEN), paste the key you received and click activate. - Internet once. Activation checks your key with the store once. After that the plugin works offline for good.
- When the trial ends, the amp goes silent and the license panel opens on its own, with the key field and the BUY A LICENSE · $19 button.
- macOS: GarageBand and Logic Pro (on Apple Silicon) run plugins in a sandbox, and each of those apps keeps its own trial and license. Paste your key once in each of them.
- Can't activate? If a firewall, your computer or your host can't reach the internet, write to us with your key. We'll send you an unlock code (it starts with
MSAL1-) that activates the plugin without a connection. Paste it in the same field.
Getting Started
Standalone Application:
The first time you launch it, the audio settings window opens on its own. Select your audio interface and, most importantly, the input channel your guitar is plugged into. You can reopen it at any time with the AUDIO button in the bottom bar.In your DAW:
Insert the plugin on your guitar track. The amplifier circuit is mono, so the plugin takes a single mono input: put it on a mono audio track. The output can be mono or stereo (the cabinet can pan its two microphones), so most DAWs also let you load it as a Mono→Stereo effect.
Before you start playing, set the input level with the guide below. It takes a few seconds, and it makes the amplifier (and the pedals) respond the way they should.
Setting the Input Level
A real tube amp doesn't respond to digital decibels. It responds to the actual voltage the guitar puts into the input jack. That voltage decides how hard the preamp tubes are driven, when the amp starts to break up and how much the reverb and the power stage compress. Your audio interface changes that level (through its gain knob and its design), so the first step is to set INPUT so the amp receives what a guitar would send it.
In the bottom bar, under the INPUT meter, the plugin shows the peak voltage reaching the amp (after INPUT). The reading holds each peak for about 1.5 seconds.
- Set the gain on your interface as you normally would: no clipping, with its own meter well below the top.
- Strum hard with your usual pickup.
- Turn INPUT until the reading under the input meter shows roughly the "hard strum" value for your pickup type:
| Pickup type | Normal playing | Hard strum |
|---|---|---|
| Vintage single coil (Strat, Tele) | 0.05 – 0.10 V | 0.3 – 0.5 V |
| Hot single coil, P-90 | 0.10 – 0.20 V | 0.5 – 0.8 V |
| Humbucker (PAF style) | 0.10 – 0.25 V | 0.6 – 1.0 V |
| Hot humbucker | 0.20 – 0.40 V | 1.0 – 1.5 V |
| Active pickups | 0.30 – 0.60 V | 1.5 – 2.5 V |
These values are approximate starting points, since pickups vary a lot. From there, trust your ears: less INPUT behaves like a weaker pickup (cleaner, more headroom), more INPUT like a hotter one.
That is what the Input control is for. It is not a tone control. It matches the level your gear delivers to the level the circuit expects. Set it again whenever your signal path changes: a different interface, a different input on it, a different gain setting, or moving between the standalone and your DAW.
Reference: with a Focusrite Scarlett (3rd gen) at minimum gain in INST mode, the plugin reads the real voltage at the jack (0 dBFS = 4.62 V peak), so INPUT at 0 dB is already right for that interface.
Amplifier Controls
The amp face follows the original panel. The knobs are skirted like the real ones: the value is the number at the top, under the small marker, and the exact value is shown below each knob. Double-click a knob to return it to its default.
Channels and input jacks
Like the amp, the plugin has two channels and four input jacks. Click a jack to plug the guitar in there: the output fades out for a moment, the cable changes jack and the sound comes back, as it would on the amp.
| Jack | What it is |
|---|---|
| NORMAL 1 | Normal channel, full level |
| NORMAL 2 | Normal channel, about 6 dB lower |
| VIBRATO 1 | Vibrato channel, full level (the default) |
| VIBRATO 2 | Vibrato channel, about 6 dB lower |
Jack 2 is the "low" input: use it for hot pickups or when you want more headroom.
- NORMAL is the simpler channel: Bright, Volume, Treble and Bass. No reverb, no vibrato.
- VIBRATO has one more gain stage, the reverb and the vibrato. It is a few dB louder than the Normal channel at the same settings and starts breaking up a little earlier.
Both channels share the power section, as in the amp. The channel you are not playing is still part of the circuit (the two channels share some tube cathodes), so with the vibrato running even the Normal channel picks up a faint pulse in the low end. The real amp does this too.
Controls
- Bright (each channel): Adds treble through a small capacitor across the Volume control. Strong at low Volume settings, gone with the Volume all the way up.
- Volume (1 to 10): There is no master volume, so Volume is also the gain. The amp stays clean for a long stretch of the dial and starts to break up past the middle (earlier with hot pickups or a hard attack). Set your final level with OUTPUT in the bottom bar.
- Treble and Bass (1 to 10): The blackface tone stack, with the middle fixed (there is no Middle control on this amp). The two controls interact with each other and with Volume: with both up, the mids dip. Small moves go a long way.
- Reverb (1 to 10): The amount of spring reverb (Vibrato channel only). The springs are driven by a tube, so the reverb also reacts to how hard you play.
- Speed (1 to 10): The rate of the vibrato, from about 4 to 12 pulses per second.
- Intensity (1 to 10): The depth of the vibrato. It comes from a neon lamp and a photocell, which gives it its slightly uneven, throbbing shape.
- POWER: The rocker switch on the right of the panel. When it is off, the amp goes silent and uses no CPU, while the tuner keeps working. The POWER setting isn't saved in presets.
The knobs follow the original controls (audio-taper pots), not a modern reissue's: the volume rises more gradually, and "5" here is quieter than "5" there.
The Footswitch
The original Vibroverb came with a two-button footswitch, and it is on the grille here. Each button has its LED:
- REVERB: Turns the reverb on and off (on by default).
- VIBRATO: Turns the vibrato on and off. It starts off: if Speed and Intensity seem to do nothing, press VIBRATO.
The '64 Custom Switches: CIRCUIT and RECTIFIER
The custom reissue of this amp, from the early 2000s, added two switches on the back. Here they are on the plate on the grille, and both are saved with presets.
- CIRCUIT: STOCK / MOD. STOCK is the original 1964 circuit. MOD is the modification designed by amp tech Cesar Diaz for that reissue: it takes the Normal channel out of the mix and removes the vibrato circuit (and the load it puts on the signal), and it changes the bias of the first two Vibrato-channel tubes. Altogether, about 8 dB more signal reaches the power section: a thicker, hotter Vibrato channel that breaks up earlier. In MOD the Normal channel, Speed, Intensity and the VIBRATO button are greyed out, and the Normal jacks are silent. Switching makes the output drop for a moment, like the pop of the real switch.
- RECTIFIER: TUBE / DIODE. TUBE is the GZ34 rectifier tube, with its sag: when you dig in, the supply voltage drops and the amp compresses a little. DIODE replaces it with silicon diodes: about 20 V more on the power tubes, less sag, a tighter and slightly louder amp.
The Pedalboard
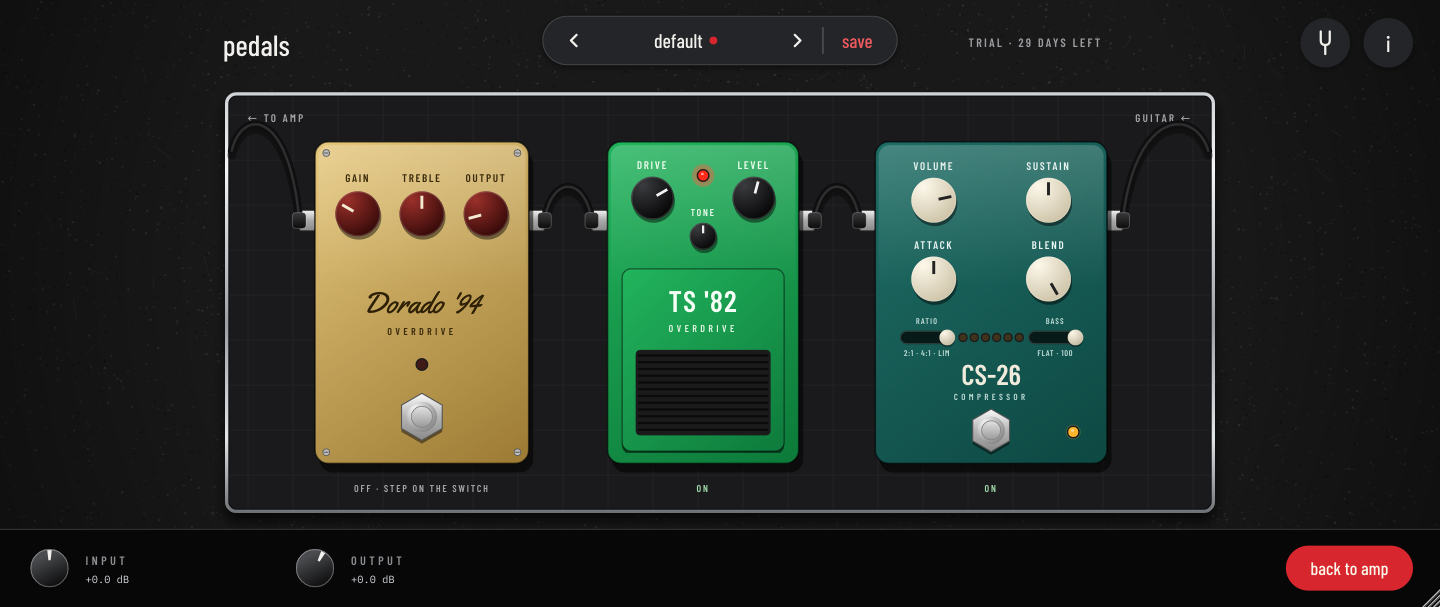
Click the PEDALS card on the grille to open the pedalboard: three pedals from the Main St line in front of the amp, always in this order, as on a real board: CS-26 → TS '82 → Dorado '94 → amp. The guitar comes in on the right and the last cable goes to the amp on the left. They are the same circuit models as our free CS-26, TS '82 and Dorado '94 plugins, included at no extra cost.
- Step on the switch: The stomp button (on the TS '82, the whole lower pad) turns a pedal on and off; the LED and the line under the pedal show it (clicking that line works too). A pedal that is off is out of the signal path and uses no CPU. Switching is click-free. The plugin starts with all three off: the amp on its own.
- Knobs go from 0 to 10, as on the pedals; double-click returns a knob to its default. The defaults keep about the same level when you step on a pedal, with a normal single-coil guitar: TS '82 Drive 5, Tone 5, Level 5.5; Dorado '94 Gain 3, Treble 5, Output 1.5 (its unity point is low, as on the original: it has a lot of output); CS-26 Sustain 5, Attack 5, Blend 10, Ratio 4:1, Bass flat, Volume 7.6.
- CS-26: RATIO (2:1, 4:1, LIMIT) and BASS (flat or 100 Hz) are the two small switches; the six amber LEDs show the gain reduction (3, 6, 9, 12, 15 and 20 dB).
- Levels: There is no input or output trim per pedal. The guitar level is set once, with the amp's INPUT, and each pedal hands its real output voltage to the next one and to the amp. Turning up a pedal's level pushes the amp harder, as in a real rig: past Volume 3 or so the power section is already breaking up, so a boost mostly adds drive and compression rather than loudness.
- TS '82 or Dorado '94? The TS '82 is the classic mid-hump overdrive; the Dorado '94 is the transparent one, which keeps the guitar's own voice (a good match for humbuckers). They can be stacked, but most players use one at a time.
- Why the compressor first? That's where a compressor usually goes: it evens out your picking before the overdrive, so the drive stays consistent and the notes sustain longer.
The Cabinet
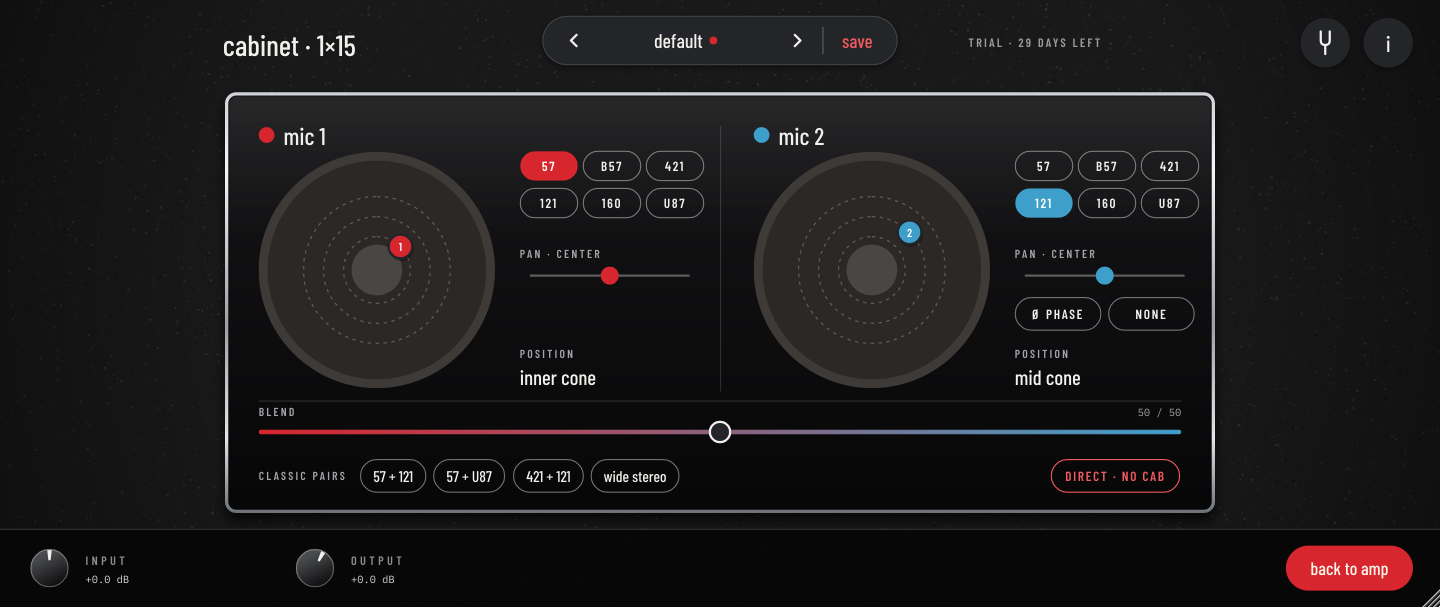
Click the small cabinet on the grille to open the cabinet view. The impulse responses are our own, made with Caja Sintética (our speaker and cabinet simulator) for a 15" ceramic speaker in a 1×15 open-back combo.
- One or two microphones: 57, Beta 57, 421, R121, M160 and U87. The second microphone can be set to NONE.
- Placement on the speaker: Click (or drag) on the drawing of the speaker where you want each microphone: Center Cap (brightest), Inner Cone, Mid Cone or Outer Cone (darkest). Hovering lights up the ring with its name.
- BLEND between the two microphones, pan for each one (the output becomes stereo) and Ø phase on the second.
- Classic pairs in one click: 57 + 121, 57 + U87, 421 + 121 and a wide stereo pair.
- DIRECT · NO CAB: Bypasses the cabinet, so you can use your own impulse responses or speaker plugins.
Presets
The preset pill at the top steps through presets (previous / next) and shows a red dot when you have changed something.
- Factory: default (the plugin as it opens: Vibrato channel, clean, with some reverb), plus six made by ear: clean on the edge, dorado as booster, el dorado drive, little green men, sweet Prudence and texas neck. Some use the MOD circuit or the pedalboard: load them and look at the panel and the pedals to see how they are set.
- Mine: save stores your own. The menu also has SAVE AS NEW, RENAME, DELETE, IMPORT and OPEN FOLDER.
- A preset stores the amplifier, the footswitch, the CIRCUIT and RECTIFIER switches, the pedalboard (which pedals are on and their knobs) and the cabinet. It doesn't store Input, Output, oversampling, the POWER switch or the tuner.
The Bottom Bar
- Input / Output: Digital gain trims (in dB) with their meters. Below them are the peak voltage reaching the amp (see Setting the Input Level) and the output level in dBFS.
- Oversampling (1×, 2×, 4×): Runs the amp and the pedals at a higher internal sample rate.
- 2× is the default and the right choice at 44.1 or 48 kHz.
- 4× smooths the top end a bit more when the amp is breaking up hard, at about twice the CPU. With two or three pedals on it needs most of a CPU core: stay at 2× if you hear dropouts.
- 1× saves CPU and is fine at 88.2 kHz and above.
- The internal rate never goes past about 200 kHz, so the choices depend on your project's sample rate: up to 4× at 44.1 or 48 kHz, up to 2× at 88.2 or 96 kHz, and 1× at 176.4 or 192 kHz. Higher choices are greyed out, and the bar shows what is actually running.
- AUDIO (Standalone): Opens the audio settings (interface, input channel, sample rate, buffer).
Built-In Tuner
Click the tuning fork icon at the top right to show the tuner.
- Needle display (±50 cents) with the detected note. The needle turns green when you are in tune.
- Clean tap: The tuner listens to the guitar before the pedals and the amplifier, so distortion, reverb and vibrato never confuse it.
- Silent while tuning: Optionally mutes the amp while you tune. The sound always comes back when you leave the tuner.
- Reference pitch (A4): From 430 Hz to 450 Hz (440 Hz by default).
- No CPU when hidden: The tuner only runs while its view is open.
Info and Settings
Click the i icon at the top right. It shows how the amplifier is made, the version, and the settings:
- the presets folder;
- the default window size;
- your LICENSE status, with the button that opens the license panel.
You can resize the window freely, up to 4K, and it keeps its size with your project.
Frequently Asked Questions
Why is the tremolo called "Vibrato"?
That's what it says on the original panel. Technically it is a tremolo, a pulsing volume (the pitch doesn't change), and the plugin keeps the original name.
I'm playing the Normal channel and I hear a faint pulse.
That's the real circuit: the two channels share tube cathodes, so with the vibrato running a little of it leaks into the Normal channel's low end. Turn the vibrato off with the footswitch if you don't want it.
How is it different from the Main St PR '64?
Both are 1964 blackface amps, but the PR '64 is a small 1×10 combo with a pair of 6V6 and a bias tremolo. The V-Verb has two channels, a pair of 6L6GC (about 40 watts), a 15" speaker for a bigger, rounder low end with more headroom, an optical vibrato, the '64 Custom switches and the pedalboard.
What does the MOD switch do to the sound?
It turns the Vibrato channel into a hotter, thicker channel that breaks up earlier, at the cost of the Normal channel and the vibrato. Try it with Volume around 4 to 6.
Can I use the pedals on their own, or in another order?
The order is fixed (compressor, then the two overdrives), as on most boards. If you want them on their own, our free CS-26, TS '82 and Dorado '94 plugins are the same circuits.
Can I activate the license before the trial ends?
Yes, at any moment. Once you activate, the trial no longer counts.
Do I need internet to play?
Only once, to activate. If you can't activate online, write to us and we'll send you an unlock code that works offline.
Why is the processing engine mono?
The original circuit is mono. Stereo comes from the cabinet, if you pan its two microphones.
I hear dropouts or crackles.
The whole circuit is solved sample by sample, which takes more CPU than a typical amp plugin, and each pedal that is on adds to it. Raise your audio buffer to 256 or 512 samples, and keep oversampling at 2× (or 1×) while you play, especially with pedals on.
No audio is heard.
Check the POWER switch on the panel, and that the guitar is in a jack of the channel you want (in MOD the Normal jacks are silent). In the Standalone, open AUDIO in the bottom bar and check that your interface and the right input channel are selected. If the trial has ended, the amp stays silent until you activate a license.
Credits & Trademarks
- Spring model after Välimäki, Parker and Abel (JAES 2010), Parker (EURASIP 2011) and Gamper, Parker and Välimäki (DAFx 2011).
- Tube models: Norman Koren (1996); grid current: Dempwolf and Zölzer (DAFx 2011).
- Wave Digital Filters (WDF):
chowdsp_wdflibrary by Jatin Chowdhury (BSD-3 License). - Cabinet impulse responses made with Caja Sintética, our physical cabinet model.
- Unlock-code verification: Monocypher (BSD-2 / CC0).
- Developed with the JUCE framework.
- Typefaces: Barlow Condensed and IBM Plex Mono (SIL Open Font License 1.1), Yellowtail (Apache License 2.0).
All product names, trademarks and registered trademarks mentioned (including Fender, Vibroverb, Ibanez, Tube Screamer, Klon, Centaur, Shure, Sennheiser, Royer, Beyerdynamic, Neumann and Focusrite) belong to their respective owners. They are referenced only for historical context and to identify the analog equipment that was modelled. Main St Audio Labs is an independent developer and is not affiliated with, endorsed by or sponsored by these companies.
Questions, problems, or something you recorded with it? Copy our email and write to us:
mainstaudiolabs@gmail.com
Other plugins
New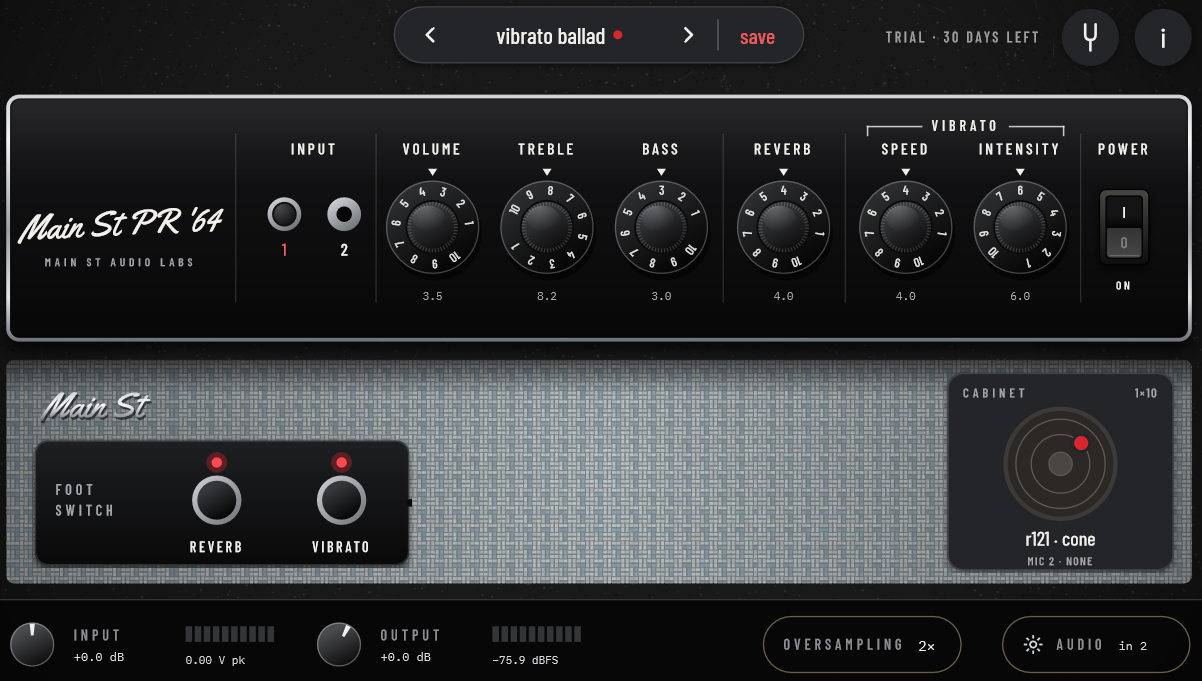
Main St PR '64
1964 Fender Princeton Reverb (blackface)
The 1964 blackface Princeton Reverb, rebuilt tube by tube: the preamp with Treble and Bass, a tube-driven spring reverb, the bias tremolo, a pair of 6V6 and a GZ34 rectifier, all working together as in the real amp. That's why the cleans sparkle and the reverb blooms off your picking, why it gets a warm, singing edge when you turn it up, and why the Vibrato pulses like the real one.
$14 · trialView details
Main St 5E3
Fender Tweed Deluxe 5E3 (1955–60)
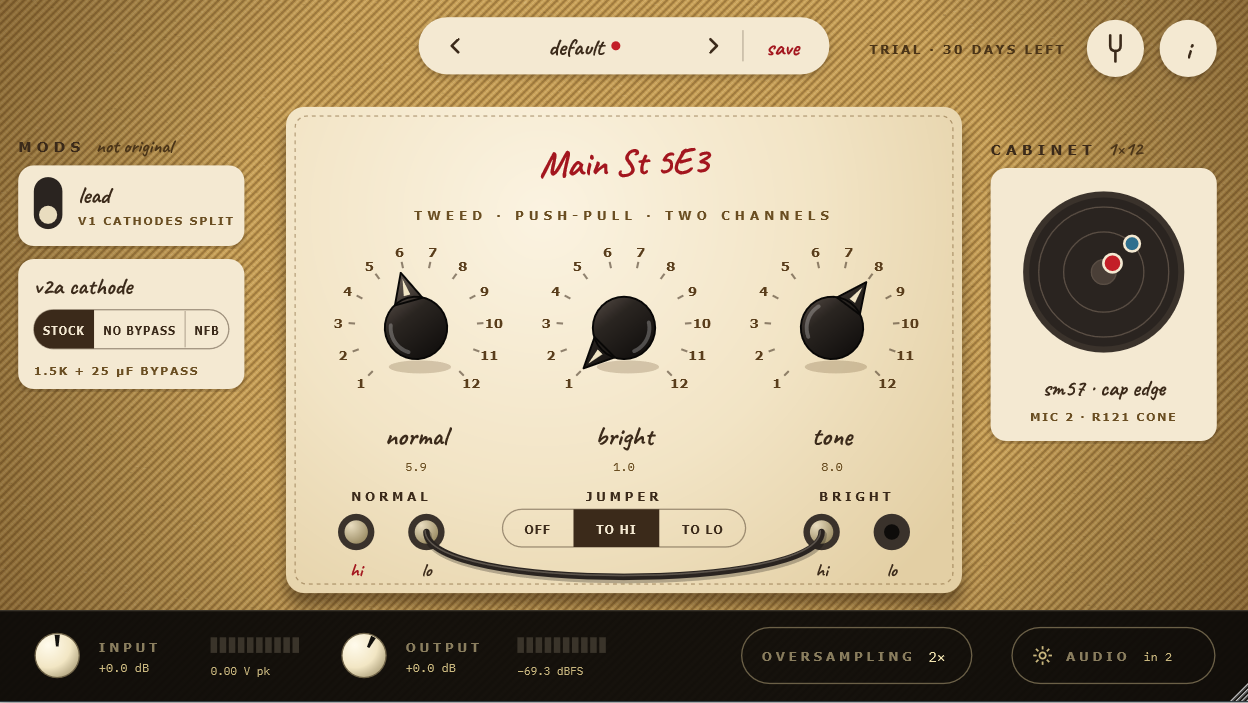
The original 5E3 tweed circuit, rebuilt tube by tube: two 12AY7 channels, a 12AX7, a pair of 6V6 power tubes and a 5Y3 rectifier, all working together as in the real amp. That's why it cleans up when you roll back your guitar's volume, sags and compresses when you dig in, and breaks into the famous tweed roar when you crank it.
$9 · trialView details
Main St 5F1
1956 Fender Tweed Champ 5F1
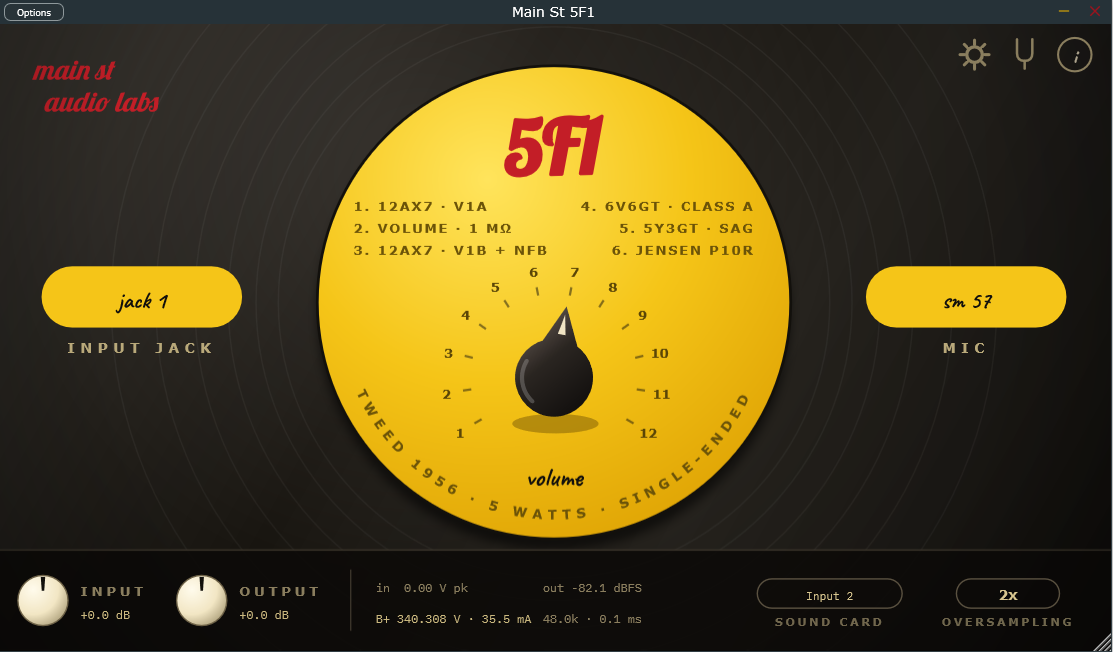
The original 1956 tweed Champ circuit, rebuilt tube by tube: a 12AX7, a single 6V6 and a 5Y3 rectifier, working together as in the real amp. That's why one knob covers it all (sweet cleans down low, warm crunch in the middle, singing overdrive at the top) and why it answers your picking like the real thing.
FreeView details
Midnight Rambler
Fender Tweed Deluxe 5E3 · lite
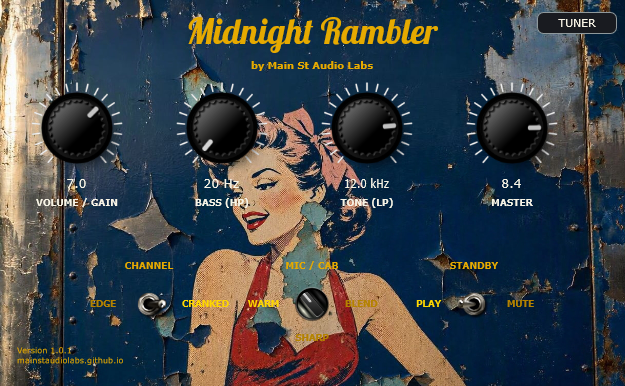
The raw, dynamic bite of the Fender Tweed 5E3 behind rock's landmark albums. Organic touch sensitivity, 3 phase-aligned studio mics, and retro tuner.
FreeView details
New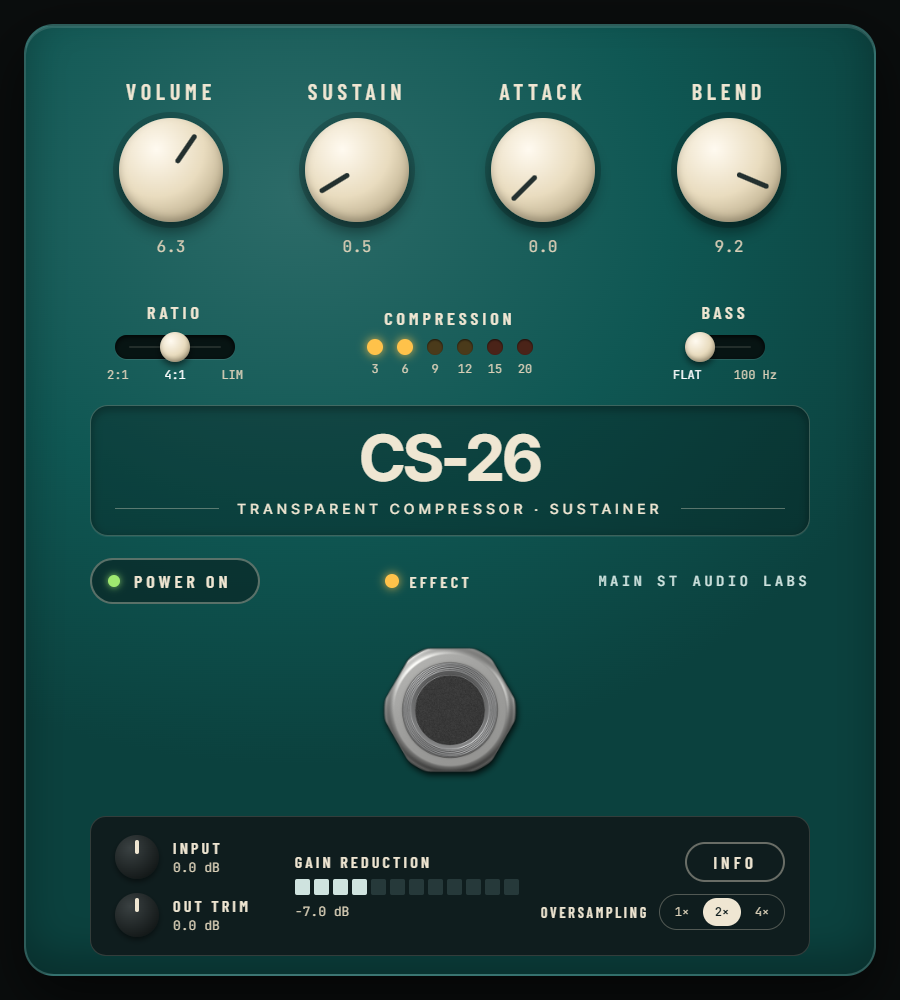
CS-26
Original Main St design
Our own compressor, designed from scratch for guitar: it evens out your playing and adds sustain without changing your tone. BLEND brings the clean signal back in so your pick attack stays alive, a 100 Hz switch keeps the low strings from pumping, and a row of LEDs shows how hard it's working. Free, with no key and no limits.
FreeView details
New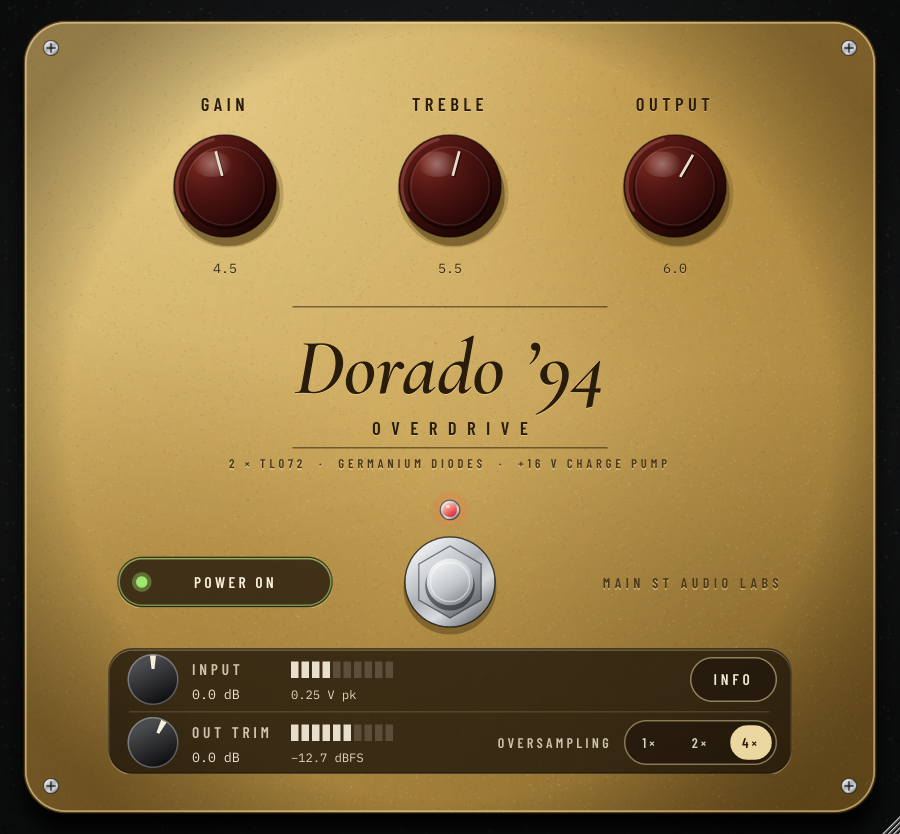
Dorado '94
1994 Klon Centaur overdrive
The famous 1994 transparent overdrive, rebuilt part by part: the buffer, the gain section with its germanium diodes and the clean signal running alongside, the treble control on its charge-pump rails and the original buffered bypass. That's why it thickens your tone instead of replacing it, works as a clean boost with GAIN low, and pushes an amp into singing overdrive when you turn it up.
FreeView details
New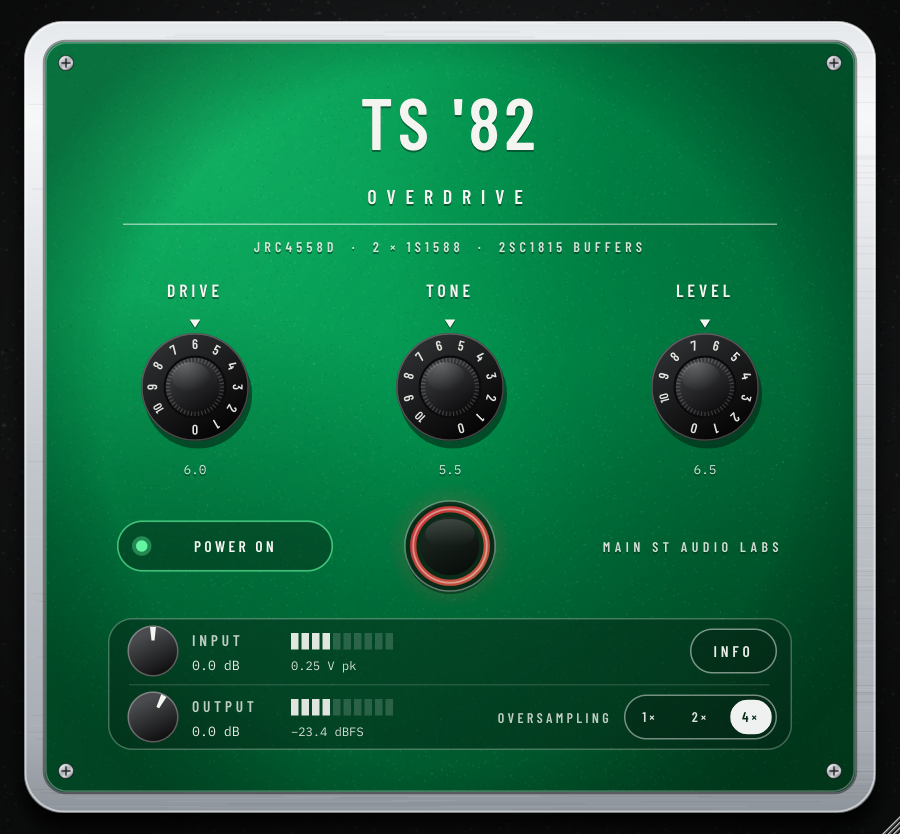
TS '82
1982 Ibanez TS9 Tube Screamer
The 1982 green overdrive, rebuilt part by part: the two transistor buffers, the JRC4558D clipping stage with its silicon diodes, the tone control and the original buffered bypass. That's where the famous mid hump comes from, the tight low end and the smooth clipping that tames your amp, whether you use it for overdrive or as a boost in front of a dirty amp.
FreeView details
New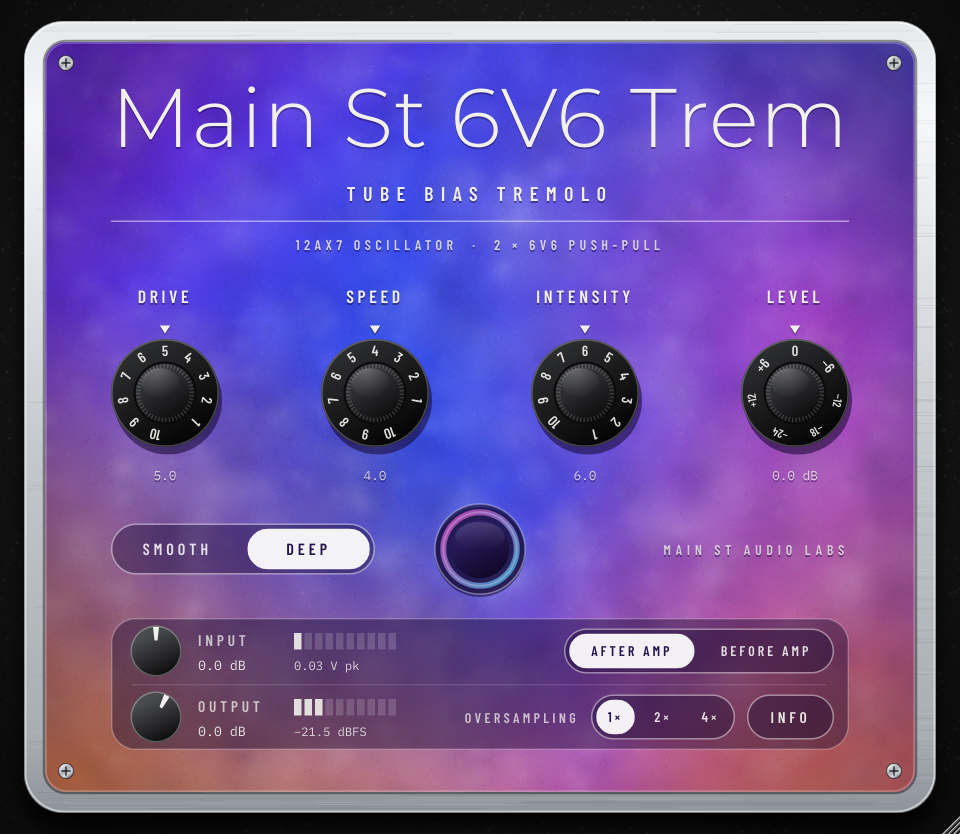
Main St 6V6 Trem
The bias tremolo of the 1964 Princeton Reverb
The bias tremolo of the 1964 blackface Princeton Reverb, taken out of the amp and built into a pedal, tube by tube: the oscillator tube, the bias supply and a push-pull pair of 6V6 with their output transformer. The power tubes make the tremolo, so the pulse is round and warm, it breathes with your playing and each valley gets a little dirty. SMOOTH is the original circuit; DEEP goes all the way down to silence.
FreeView details
Main St '63 Spring
1963 Fender Reverb Unit (6G15)
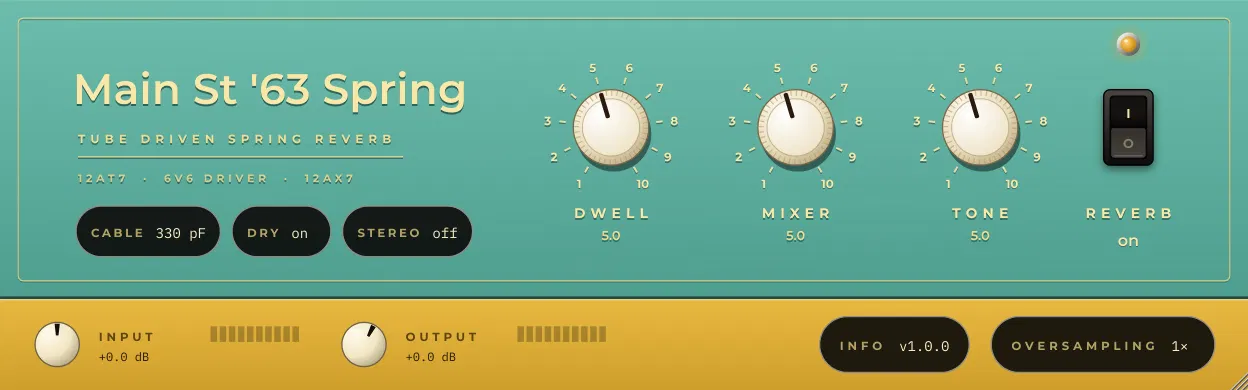
The original 1963 outboard spring reverb, rebuilt part by part: the tubes that drive the tank, the two springs and the recovery stage. That's where the drip and splash of surf and vintage records come from, and why it gets wetter and wilder as you turn up the Dwell and hit it harder. Use it before your amp like the original, or on a bus with the springs in stereo.
FreeView details
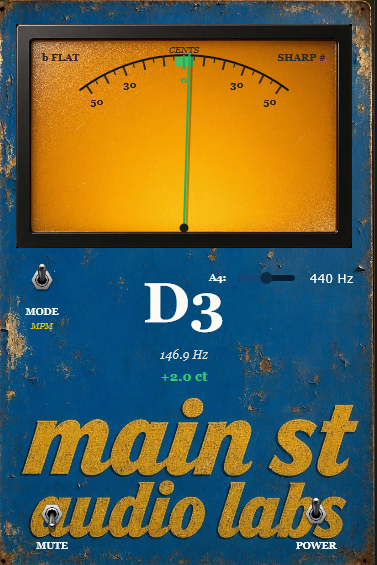
Vintage Tuner Stompbox
Chromatic needle tuner
Vintage needle tuner powered by dual high-precision DSP engines (MPM & YIN). True 0.0% CPU when GUI is closed for inserting across all session tracks.
FreeView details